When applying perfume, you may press it hard, causing the perfume spray head to block. The repair project includes a step-by-step procedure guide on how to fix the clogged nozzle to the perfume bottle. Therefore, during the repair process, you need to take extra safety precautions when removing the nozzle, because the bottle is made of glass and will easily break if it is handled carelessly.
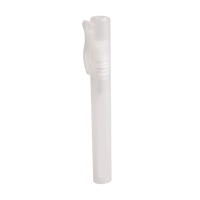
Step 1 How to fix the clogged nozzle on the perfume bottle
Get the damaged perfume bottle and a pair of pliers.
Step 2
Hold the pliers and unscrew the nozzle counterclockwise to remove the nozzle from the bottle.
If the bottle is made of glass, please loosen the nozzle from the bottle as slowly as possible to avoid damage to the bottle.
Rotating the nozzle counterclockwise means you are rotating from left to right.
Step 3
Pull out the test tube gently by hand to expose the metal ball.
Step 4
Take a sewing needle and insert it into the opening to adjust the metal ball caught in the spring.
The reason for the clogging of the nozzle at the bottom of the perfume is that the metal ball is stuck in the spring. This error will prevent the pump from retracting. The metal ball should be directed at the bottom of the spring. When you press down on the nozzle, it will retract the pump and the product will stick out of the bottle.
Step 5
Reinsert the tube into the opening by hand.
Step 6
Insert the sewing needle into the small hole to make sure there is no blockage in the hole.
Step 7
Using pliers, gently twist the blocked nozzle in a clockwise direction until the pump pops out.
Step 8
Screw the nozzle clockwise by hand back onto the nozzle.
Rotating the nozzle clockwise means that you are rotating the nozzle in the opposite direction (from right to left).
Step 9
Test the newly clogged nozzle to see if the product is effectively extended.